Más vendidos


COLLECTIONS
-

TOPS Y SUJETADORES DEPORTIVOS
Tops y sujetadores deportivos diseñados para ofrecer sujeción, comodidad y libertad de...
-

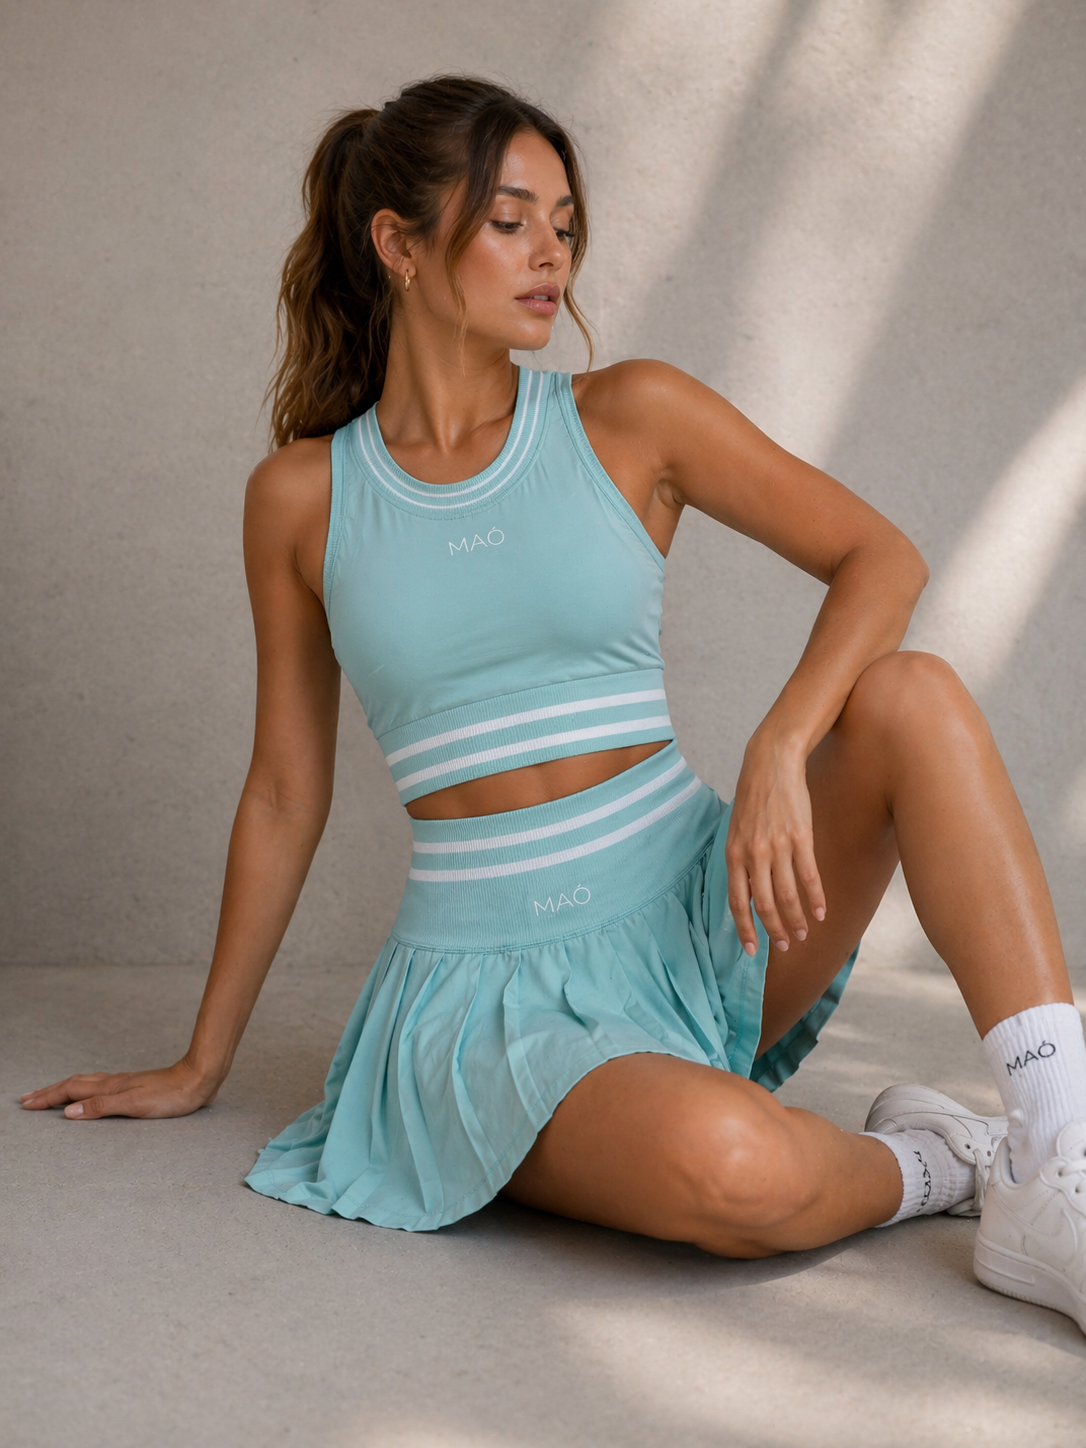
TOTAL LOOK
Combinaciones pensadas para crear un look completo sin esfuerzo.Piezas que dialogan entre...
-

CHAQUETAS & CHALECOS
Chaquetas diseñadas para acompañarte antes, durante y después del entrenamiento.Siluetas limpias, tejidos...


ACCESSORIES
-
MAŌ SET 3 BANDAS DE RESITENCIA
Precio habitual €22,99 EURPrecio habitual -
MAŌ GUANTILLAS
Precio habitual €21,99 EURPrecio habitual -
MAŌ GORRA BASIC
Precio habitual €19,99 EURPrecio habitual